Creating a Gallery of Images
The following article will show you how to add some code to an article with a gallery module to make the images display as per the example here:

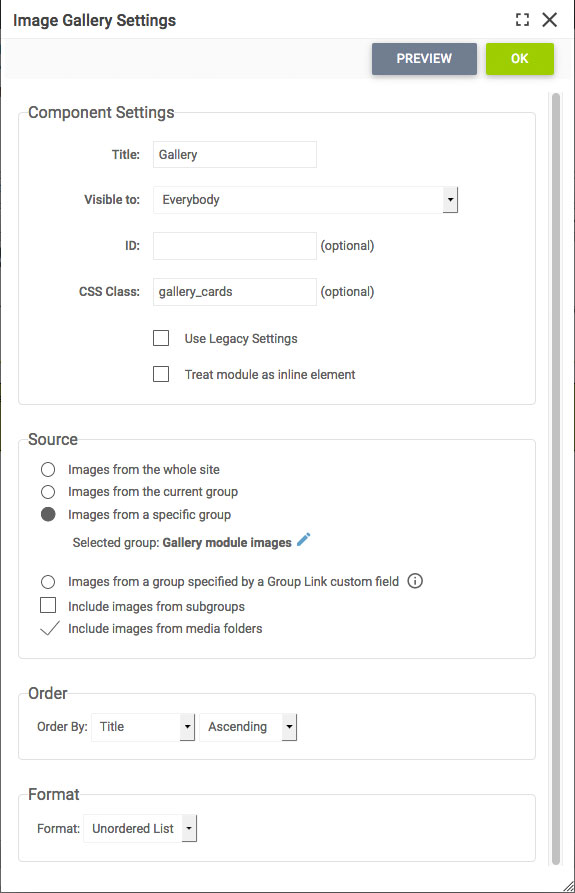
The module properties should have the class 'gallery_cards' added to the CSS Class box, and you should select the group containing your images and set the format to 'Unordered List'.
The code to add to the article via the source view in an article can be downloaded from
here.
Copy all the code and select the source button on the toolbar to switch to the code view and paste the code directly in the article after your content and gallery module.
Obviously for the best results the image should be of a similar format, so all portrait or all landscape, otherwise there will be random spaces in the rows or columns. You can have more than one gallery module in the article if you want to display images in different sections from different media groups within your site.
A note about editing the code for different numbers of images per row
The number of images is determined by, for example:
.gallery_cards .gallery_ul .gallery_li {
width: 47.42268%;
float: left;
margin-left: 1.28866%;
margin-right: 1.28866%;
}
which means that each image is 47.42268% of the width of the 'container' it is in – so 2 images per row
We have a 12 columns grid so 'valid' widths are
so for 1 image per row it is 97.42268%
so for 2 images per row it is 47.42268%;
so for 3 images per row it is 30.75601%
so for 4 images per row it is 22.42268%
so for 6 images per row it is 14.08934%
so for 12 images per row it is 8.33333%
The media queries – @media (min-width: 992px), @media (min-width: 768px), etc – are the browser widths where the code will change the number of images per row, so you can change these widths or add more media queries to give more breakpoints at which the display changes.
If your template uses customer bullet point then you may find a bullet next to the image when they are displayed. If this is the case just add the following code before the closing </style> tag.
.slice_content_page .main-content ul.gallery_ul li::before {
content: '';
}